The two servers I will use to install CAS & HT servers are called EXF1 and EXF2.


I will skip the prereq processes (eg: .net framework and etc)
1. For CAS and HT servers run following commands from the scripts folder/directory.
sc config NetTcpPortSharing start= auto
ServerManagerCmd -ip Exchange-Typical.xml -Restart
Click this link for more details on the command

2. Install exchange server, choose custom install and select CAS and HT roles.
3. Populate the internet facing server name (if your CAS&HT server will face the internet)

4. Install

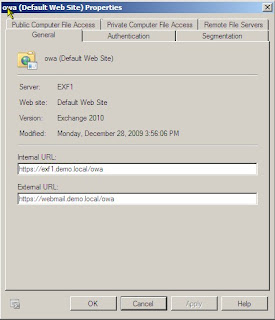
5. Installed, internal URL will be changed once the load balance feature gets installed.

6. I will skip the installation process for the EXF2 (my second CAS&HT server)

No comments:
Post a Comment